Understanding the Magic of Kefir in Baking
What Makes Kefir Special for Baking
Health Benefits of Baking with Kefir
The Science Behind Kefir’s Effectiveness
Essential Ingredients for Perfect Results
Kitchen Equipment and Tools Needed
Baking a delicious kefir sheet cake needs the right tools. You’ll need everything from baking pans to mixing and measuring gadgets. Having the right equipment ensures your cake turns out perfectly.
Must-Have Baking Pans
The secret to a perfect kefir sheet cake lies in choosing the right pan. Choose a 9×13-inch or half-sheet (18×13 inches) pan. This size helps the cake bake evenly and gives you a big serving.
Mixing and Measuring Tools
A good mixer is essential for mixing the batter. You can opt for a handheld mixer or a stand mixer fitted with a paddle attachment. It makes mixing the kefir and other ingredients easy. A sturdy whisk is also handy for blending.
Measuring ingredients accurately is key. You’ll need measuring cups, spoons, and a kitchen scale. These tools help you measure each ingredient perfectly, ensuring a tasty cake.
Additional Helpful Equipment
- An oven thermometer helps ensure your oven reaches the correct temperature.
- Timer to keep track of baking times and prevent over- or under-baking
- Food thermometer to check the internal temperature of the cake for doneness
With the right pans, tools, and extra equipment, you’re ready to make a fantastic kefir sheet cake. It will surely impress your loved ones.
Preparing Your Kitchen for Success
Before you start baking your kefir sheet cake, make sure your kitchen is ready. This easy step streamlines the process and makes it more enjoyable. Let’s look at the important steps to get your baking area ready.
First, preheat your oven to 350°F (175°C). This gets your oven at the perfect temperature for baking. While it heats up, grease your baking pan or line it with parchment paper. This makes the cake easy to remove after baking.
Then, take the time to measure your ingredients accurately. Kefir baking needs exact measurements for the best taste. Make sure you have all your dry and wet ingredients ready. Additionally, let your eggs, butter, and kefir come to room temperature for smoother mixing.
- Organize your workspace for efficient baking. Ensure that all your tools and ingredients are within easy reach.
- Double-check that you have everything ready before starting to mix the batter. This will help the process flow seamlessly.
By properly preparing your kitchen, you’re setting up for a great kefir sheet cake-baking experience. With your oven preheated, pans greased, and ingredients measured, you’re on your way to making a crowd-pleasing dessert.

Kefir Sheet Cake Recipe Card: Step-by-Step Instructions
Uncover the key to a perfectly moist and flavorful kefir sheet cake. It’s ideal for any celebration or simply when you’re craving a homemade dessert. Follow these easy steps to make your kefir sheet cake.
Mixing the Wet Ingredients
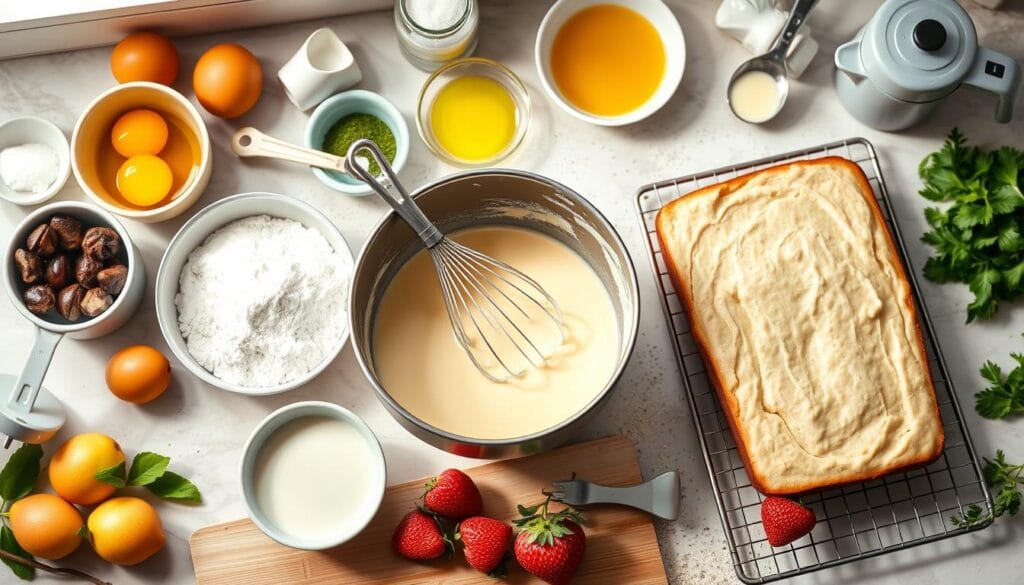
Start by heating your oven to 350°F (175°C). In a large bowl, beat the eggs and organic cane sugar until light and fluffy. Next, add kefir and a neutral oil, such as grapeseed or canola, and mix until fully blended.
Combining Dry Ingredients
In another bowl, mix flour, baking powder, baking soda, and fine sea salt. Gradually incorporate the dry ingredients into the wet mixture, taking care not to overmix to prevent a dense cake.
Final Batter Preparation
After mixing well, pour the batter into your ready baking pan. Make sure it’s evenly spread. Bake for 23-27 minutes, or until a toothpick inserted in the middle comes out without any batter.
Allow the cake to sit in the pan for 10-15 minutes before moving it to a wire rack to cool fully. This helps keep the cake’s texture and moisture just right.
Follow these simple steps to make a delicious kefir sheet cake. It’s a crowd-pleaser with its rich, tangy flavor and moist texture.
Baking Temperature and Timing Guidelines
To bake the perfect kefir sheet cake, focus on temperature and timing. Preheat your oven to 350°F (175°C). Position the cake pan on the middle rack to ensure even baking.
The kefir cake baking tips suggest baking for 25-30 minutes. But, watch the cake closely. Frequent opening of the oven door can disrupt the baking time and affect the sheet cake’s outcome.
If you’re using a convection oven, activate the convection setting. It ensures the cake bakes evenly. This results in a golden-brown crust.
Check if the cake is done by inserting a toothpick or tester into the center. The cake is done when a toothpick inserted into the center comes out clean. The edges should have a light golden color, and the top should feel springy to the touch.
If the cake browns too fast, cover it with aluminum foil. Lower the oven temperature if needed. This helps the inside bake before the outside gets too dark.
By following these kefir cake baking tips and monitoring the baking time, you’ll achieve a moist and flavorful kefir sheet cake. It’s sure to wow your guests.
Creating the Perfect Texture and Moisture
Getting the right texture and moisture is key for a moist cake. Using kefir in your recipe helps. It’s all about finding the perfect balance for a tender and tasty cake.
Tips for Achieving Proper Density
To keep the cake light and fluffy, avoid overmixing the batter. Gently mix the kefir with the other wet ingredients until just combined. Overmixing can make the cake tough and heavy, ruining the kefir cake texture.
Moisture Control Techniques
- Follow the recipe’s kefir-to-flour ratio for the right moisture. Check the instructions for the exact amounts.
- Avoid overbaking to prevent the cake from becoming dry. This will take away from its moist cake recipe charm.
Testing for Doneness
Insert a toothpick or cake tester into the center to check if your cake is fully baked. The tester should come out clean with no wet batter, and the cake’s internal temperature should reach 210°F (99°C).
Let the cake cool in the pan for a while before taking it out. This helps keep it moist. Store any leftovers in an airtight container to keep them fresh and moist.

Decorating Options and Finishing Touches
Once your kefir sheet cake is perfectly baked, it’s time to add the finishing touches! Kefir’s tangy taste goes well with many frostings and toppings. This lets you make the cake your own and wow your guests.
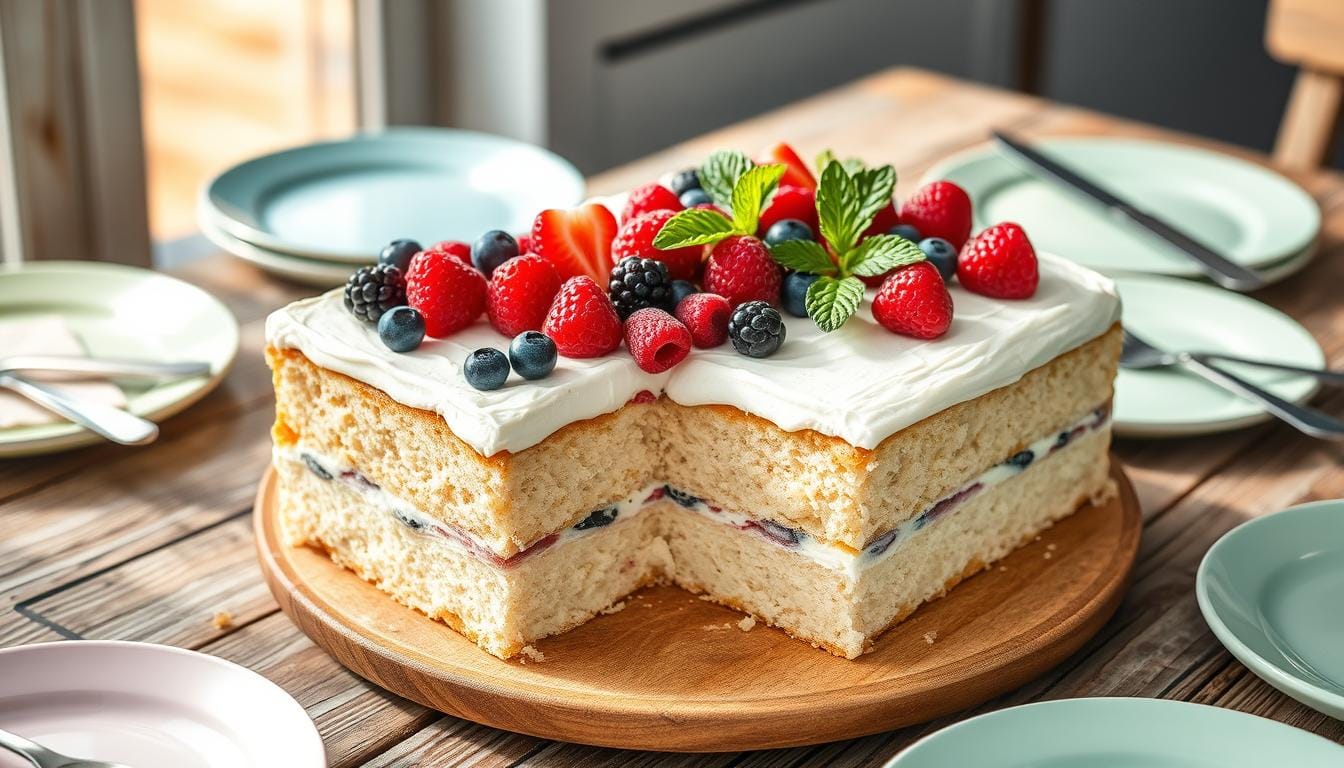
For a classic look, try cream cheese or buttercream frosting. These frostings match the kefir’s tanginess well. Or, a Greek yogurt-based frosting offers a lighter, tangier choice that shows off the kefir’s unique taste.
For a glossy, decadent finish, top your cake with a rich chocolate ganache glaze. Pour it over the cooled cake for a luxurious topping. Or, a lemon or citrus glaze adds a bright, citrusy touch.
To add elegance, top your kefir sheet cake with fresh fruits or nuts. Sliced fresh fruits like strawberries or kiwi add color and freshness. Sprinkle toasted nuts or chocolate chips for a nice crunch.
Remember to cool the cake fully before adding toppings. This prevents them from melting or sliding. With some creativity, your kefir sheet cake will be a stunning centerpiece for any event.
Storage and Serving Recommendations
After baking the perfect kefir cake, knowing how to store and serve it is key. This keeps it fresh and flavorful. Let’s look at the best ways to store and serve your kefir cake.
Proper Storage Methods
An unfrosted kefir sheet cake stays fresh for up to 2 days at room temperature in an airtight container. To maintain freshness, frosted cakes should be stored in the refrigerator. To keep the cake longer, wrap individual slices in plastic wrap and foil, then freeze for up to 3 months. Refrigerate frozen slices overnight to thaw before serving.
Maintaining Freshness
Keeping your kefir cake fresh is all about proper storage. Store it in an airtight container or wrap it tightly to avoid drying out. If it’s frosted, refrigeration keeps the frosting moist and prevents it from getting too soft or melted.
Serving Suggestions
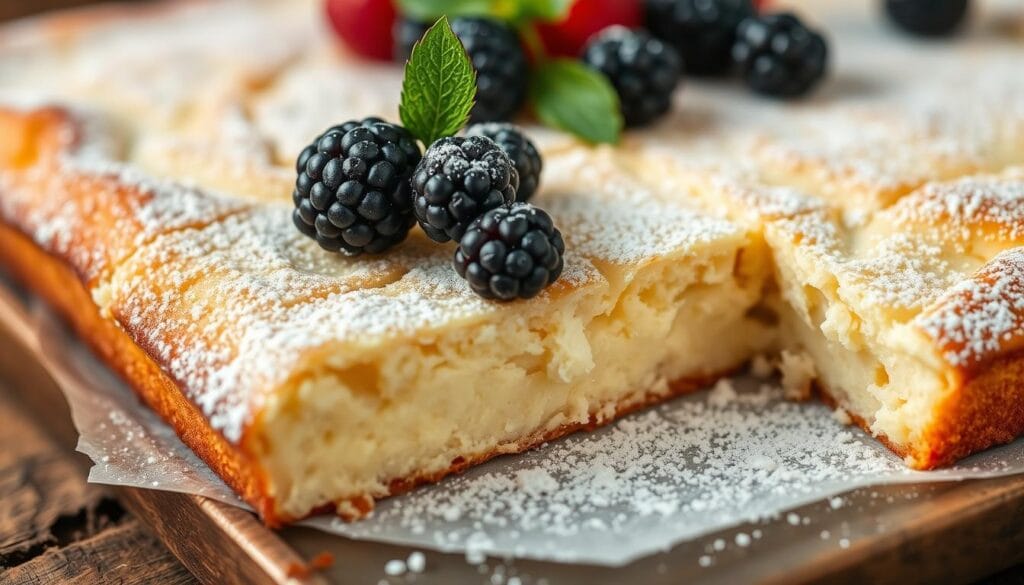
Serve your kefir sheet cake at room temperature for the best taste and texture. This lets the flavors fully come through and the cake stays moist and tender. Cut the cake into squares or rectangles for easy serving at parties or events. You can also add fresh fruit, whipped cream, or powdered sugar for an extra special touch.
By following these tips, your kefir sheet cake will stay fresh and delicious. It’s the perfect dessert to impress a crowd.
Troubleshooting Common Baking Issues
Baking with kefir can be a fun experience, but bakers sometimes face problems. Don’t worry! We have solutions for common kefir cake issues.
If your kefir cake feels dense and heavy, it might be because you mixed the batter too much. Mix the ingredients gently. Also, make sure you use the right amount of baking powder or soda.
Uneven baking can be a problem. To avoid this, turn your pan halfway through baking. Using an aluminum pan helps because it spreads heat better than glass or ceramic.
A dry, crumbly kefir cake usually happens when it’s baked too long. Watch the oven closely and use a cake tester to check if it’s done. Also, measuring ingredients correctly helps keep the cake moist.
- If your kefir cake has a sunken middle, don’t open the oven door too often. This can mess up the baking. Also, check if your oven temperature is correct.
- A cracked top could indicate that your oven temperature is too high. Try lowering the temperature a bit. And don’t overmix the batter.
By knowing these common baking problems and using the right methods, you’ll make perfect kefir cakes. They’ll impress everyone. Happy baking!
Recipe Variations and Flavor Combinations
Enhance your kefir sheet cake by experimenting with different flavors. You can add fruits, spices, or nuts to make it unique. There are endless ways to customize your kefir cake.
Try adding fresh or frozen fruits to the batter. Apples, berries, pineapple, or mango can make it sweeter and moister. For a warm twist, mix in cinnamon, nutmeg, or ginger.
Nuts and seeds add a nice crunch. Add chopped pecans, walnuts, almonds, or even sunflower seeds for extra texture and flavor. They also make your cake healthier.
For chocolate lovers, add cocoa powder or chocolate chips. The chocolate’s richness goes well with kefir’s tanginess.
Don’t hesitate to try different flavor extracts. Almond, coconut, or maple can give your cake a unique taste. Kefir’s versatility lets you create your special flavors.
| Flavor Combination | Ingredients |
|---|---|
| Pumpkin Spice Kefir Cake | Pumpkin puree, pumpkin pie spice, Lifeway Kefir Pumpkin Spice Lowfat Milk |
| Rhubarb Kefir Cake | Fresh rhubarb, orange zest and juice, whole milk yogurt |
| Blueberry Kefir Shortcake | Fresh blueberries, heavy cream, all-purpose flour, unsalted butter |
With so many options, the world of kefir cake is yours to explore. Have fun experimenting and find your new favorite dessert!
Conclusion
The homemade kefir cake is a true delight. It offers a perfect balance of taste, texture, and health benefits. This easy sheet cake recipe is great for any occasion, making it a favorite among bakers.
The probiotic-rich kefir adds a unique flavor and moisture. This results in a delightful treat that will impress your guests.
With the right techniques and creative variations, this kefir sheet cake can become a go-to dessert. You can add fresh fruits, swirl in jam, or try flavored kefir. Serve it with whipped cream or ice cream for a special treat.
Enjoy the versatility and health benefits of homemade kefir cake. It’s a simple yet impressive dessert. Your family and friends will love it, and they’ll be impressed by your baking skills.


Comments are closed.