
Every kitchen has a magical moment. It’s when simple ingredients turn into something amazing. The caramel chocolate bar is the perfect treat that brings back memories and comfort.
Imagine biting into a bar where smooth chocolate and creamy caramel come together. It’s a culinary experience that goes beyond regular desserts.
This recipe is more than just another chocolate treat. It’s a journey to making a decadent masterpiece. You’ll learn to make caramel chocolate bars as good as those from a professional bakery.
Making the perfect caramel chocolate bar needs passion and precision. Whether you’re new to baking or experienced, this guide will help you. You’ll learn to make a sweet treat that melts in your mouth and warms your heart.
Get ready to turn your kitchen into a gourmet chocolate workshop. Your journey to making the most delicious caramel chocolate bars starts here.
Table of Contents
Why Homemade Caramel Chocolate Bars Are Better Than Store-Bought
Making your caramel chocolate bar at home is a game-changer. It lets you control the ingredients, turning a simple treat into a special experience.
Homemade caramel chocolate bars beat store-bought ones in many ways. Let’s see why making your own is a big win.
Superior Taste and Quality Control
With homemade caramel chocolate bars, you pick the ingredients. This means you can use top-notch stuff that store brands can’t match. Just Eagle Brand Sweetened Condensed Milk makes a better caramel than store-bought.
- Control over ingredient quality
- No artificial preservatives
- Fresh, premium chocolate selection
Cost-Effective Alternative
Homemade caramel chocolate bars are also cheaper. Buying ingredients in bulk and making lots at once saves money. Plus, you get a better product.
| Expense Category | Homemade | Store-Bought |
|---|---|---|
| Ingredient Cost | $8-$12 | $15-$25 |
| Servings | 12+ bars | 6-8 bars |
| Per Serving Cost | $0.75 | $2.50 |
Customization Options
Your kitchen is where you can get creative with candy bars. Try different chocolates, add nuts, or mix in unique flavors. This is something store brands can’t do.
- Choose your preferred chocolate type
- Add custom mix-ins
- Adjust sweetness levels
Spending a bit of time makes a personalized caramel chocolate bar that’s better than anything you can buy. It’s all about taste, quality, and satisfaction.
Essential Ingredients for Perfect Caramel Chocolate Bars
Making the perfect caramel chocolate bar starts with picking the right ingredients. Your homemade treat will stand out with top-notch components. These turn simple snacks into something special.
Understanding your ingredients is key to a great milk chocolate bar. Here are the must-haves:
- Caramel Base Ingredients:
- Granulated sugar
- Unsalted butter
- Heavy cream
- Light corn syrup
- Chocolate Components:
- High-quality milk chocolate or dark chocolate
- Cocoa butter
- Vanilla extract
- Optional Flavor Enhancers:
- Sea salt
- Vanilla bean
- Nuts (optional)
Choosing the best ingredients is crucial. Quality is more important than quantity for the perfect caramel chocolate bar.
| Ingredient Category | Recommended Quality | Impact on Final Product |
|---|---|---|
| Chocolate | 70% cocoa content | Rich, intense flavor |
| Butter | Unsalted, European-style | Smoother texture |
| Cream | Heavy whipping cream | Creamier caramel |
| Sugar | Granulated cane sugar | Consistent caramelization |
Every ingredient is vital for your caramel chocolate bars’ taste and texture. Choose the best you can find, and your taste buds will love you.
Kitchen Tools and Equipment You’ll Need
To make the perfect caramel chocolate bar, you need the right kitchen tools. These tools will turn your dessert snack into a pro-level treat. Choosing the best equipment is key to success in candy-making.
Creating a tasty caramel chocolate bar is more than just using ingredients. Your kitchen tools play a big role in how good your dessert will be.
Must-Have Baking Tools
- Candy Thermometer: It’s vital for getting the caramel just right
- Heavy-bottomed saucepan (1½ to 2-quart size)
- Silicone spatula for smooth mixing
- Parchment paper for easy removal
- Half-size sheet pan (18″ x 13″)
- Cooling rack for even heat distribution
Optional but Helpful Equipment
- Double boiler for chocolate melting
- Digital kitchen scale for precise measurements
- High-quality oven mitts
- Whisks for smooth mixing
Temperature Control Essentials
| Equipment | Temperature Range | Purpose |
|---|---|---|
| Candy Thermometer | 0-400°F | Precise caramel and chocolate temperature tracking |
| Digital Instant-Read Thermometer | -40-450°F | Quick temperature verification |
Quality tools are essential for making your caramel chocolate bar recipe stand out. The right equipment can take your dessert snack to the next level. It’s all about creating a memorable treat.
The Science Behind Making Caramel Chocolate Bar

Making the perfect caramel chocolate bar is a mix of chemistry and cooking skills. It starts with knowing how sugar changes when heated. This creates the gooey caramel that makes your taste buds happy.
Heating sugar leads to a cool process called caramelization. It breaks down sugar molecules, making a complex flavor. This flavor is what makes the caramel so delicious.
- Temperature plays a crucial role in determining caramel’s texture
- Different heat levels create varying consistencies
- Precise control leads to that creamy texture chocolate lovers crave
The art of making chocolate is also complex. The conching process, found by Rudolph Lindt in 1879, is key. It involves mixing and grinding chocolate for hours. This improves its taste and texture.
Temperature is important for your caramel chocolate bar. Milk chocolates are mixed at about 50°C. Dark chocolates can go up to 90°C. These temperatures help make the chocolate smooth and rich.
Pro tip: Knowing these science facts makes making chocolate an art form!
Step-by-Step Preparation Process
Making the perfect caramel chocolate bar recipe needs care and patience. Your homemade treat will turn simple ingredients into a rich flavor experience. It will be better than anything you can buy.
Making the Perfect Caramel
Creating creamy caramel starts with careful preparation. Your caramel layer needs your full attention:
- Heat 2 cups granulated sugar slowly in a heavy-bottomed pan
- Stir continuously to prevent burning
- Add 12 tablespoons room temperature butter
- Incorporate 1 cup of heavy cream
- Sprinkle 1 teaspoon salt for enhanced flavor
Chocolate Tempering Technique
Tempering chocolate gives it a glossy look and a nice snap. Follow these steps:
- Chop 12 oz semi-sweet chocolate into uniform pieces
- Melt chocolate using a double boiler
- Heat to 115°F, then cool to 80°F
- Reheat gently to 88-90°F for perfect consistency
Assembly Methods
The last step is layering your caramel chocolate bar recipe with care:
| Layer | Technique | Duration |
|---|---|---|
| Shortbread Base | Bake at 350°F for 25-30 minutes | 30 minutes |
| Caramel Layer | Pour and let cool completely | 1-2 hours |
| Chocolate Topping | Pour tempered chocolate evenly | 4 hours cooling |
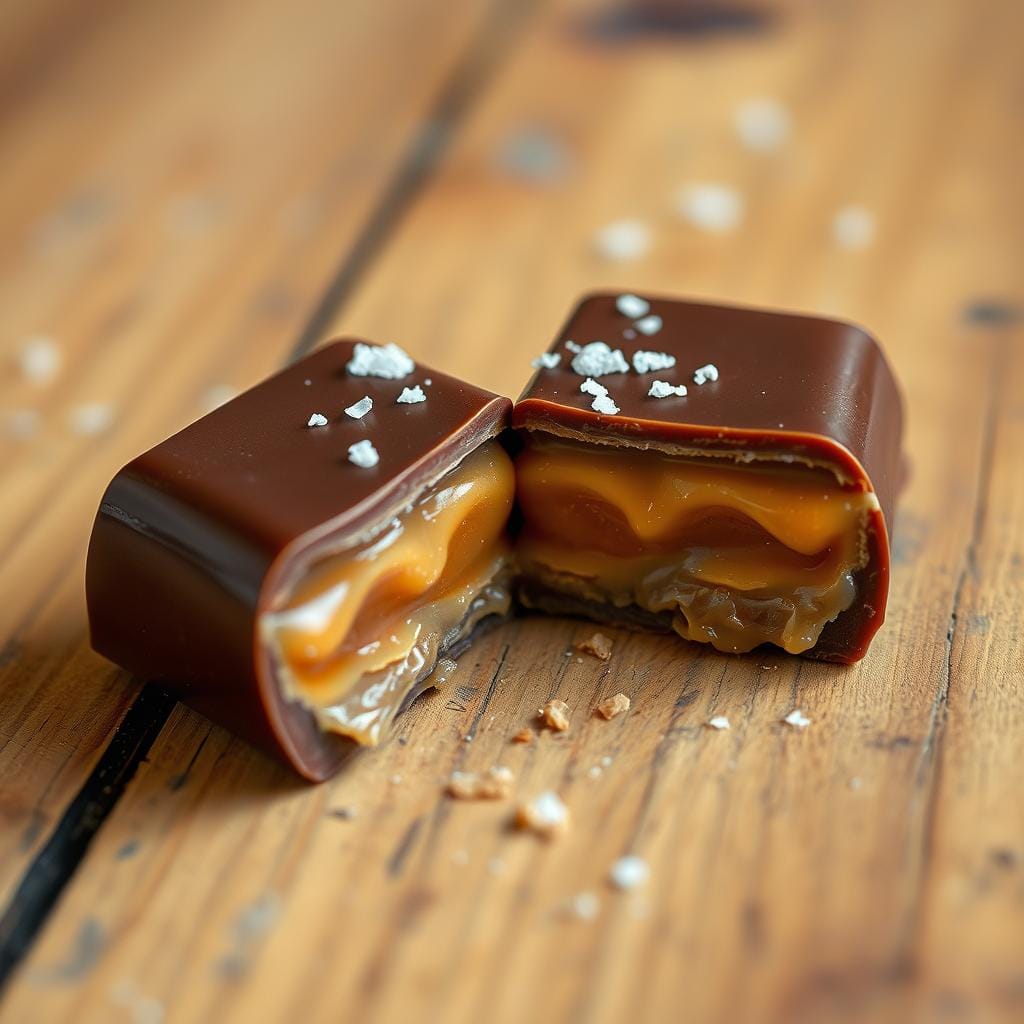
Pro tip: Sprinkle sea salt flakes on top for a gourmet touch. Your homemade caramel chocolate bars will have a creamy texture that melts in your mouth!
Tips for Achieving the Perfect Texture

Making the ultimate gooey caramel chocolate bar needs skill and care. The success of your treat depends on a few key techniques. These techniques turn simple ingredients into amazing treats.
Texture Mastery Strategies
- Control sugar temperature meticulously for gooey caramel consistency
- Target 240°F to 245°F for optimal soft, chewy texture
- Use high-quality chocolate with 60-80% cacao content
Temperature is key for a creamy texture. When working with chocolate, precise tempering gives it a glossy look and a satisfying snap. Dark chocolate, with its higher cacao content, brings a deeper flavor.
| Chocolate Type | Cacao Percentage | Texture Characteristics |
|---|---|---|
| Dark Chocolate | 60-80% | Robust, crisp snap |
| Milk Chocolate | 30-50% | Smooth, creamy |
Try different ingredient ratios to find your ideal mix. Organic cacao and sustainable chocolate make your bars taste better and are better for the planet.
Pro Tips for Texture Perfection
- Allow caramel to cool gradually for optimal consistency
- Use a candy thermometer for precise temperature tracking
- Rest chocolate bars at room temperature before serving
Creating the perfect chocolate bar is an art. With practice, patience, and focus, your homemade treats will be as good as store-bought ones.
Common Mistakes to Avoid When Making Caramel Chocolate Bars
Making the perfect caramel chocolate bar needs care and precision. Even skilled bakers face challenges. Knowing common mistakes helps avoid disappointment and makes a tasty candy bar every time.
Mastering Temperature Control
Temperature is key in making caramel chocolate bars. Small changes can greatly affect the result. Here are important temperature mistakes to avoid:
- Using an inaccurate candy thermometer
- Removing caramel from heat too quickly or too late
- Failing to monitor chocolate tempering temperatures
Ingredient Ratio Challenges
Getting the right amounts of ingredients is crucial. Wrong ratios can cause problems. Here are some common issues:
| Ingredient Issue | Potential Result |
|---|---|
| Too much sugar | Overly hard or grainy texture |
| Insufficient butter | Dry and crumbly dessert snack |
| Excess chocolate | Overpowering flavor |
Critical Timing Considerations
Timing is everything in making candy bars. Rushing the process can lead to:
- Poorly tempered chocolate
- Uneven caramel layers
- Improper setting of ingredients
Understanding these common mistakes helps you make a top-quality caramel chocolate bar. Take your time, measure carefully, and focus on temperature and technique.
Storage and Shelf Life Guidelines
Keeping your homemade caramel chocolate bar fresh is key. The right storage can make it last longer and taste better.
Optimal Storage Conditions
Your candy bar needs the right environment to stay fresh. Keep it at room temperature in an airtight container. The ideal temperature is between 65-70°F. Also, keep humidity below 50% to avoid chocolate bloom and keep the texture perfect.
Shelf Life Expectations
| Storage Method | Shelf Life | Quality Preservation |
|---|---|---|
| Room Temperature | 5-7 days | Excellent |
| Refrigerator | 2-3 weeks | Good |
| Freezer | Up to 3 months | Acceptable |
Storage Tips for Maximum Freshness
- Use an airtight container to prevent moisture absorption
- Keep away from direct sunlight and heat sources
- Store in a cool, dry place
- Bring refrigerated or frozen bars to room temperature before serving
Watch for signs of spoilage like discoloration, texture changes, or bad smells. Even though your caramel chocolate bar is best eaten within a week, good storage can keep it fresh longer.
Pro tip: If you live in a warm place, you might need to refrigerate to stop chocolate from melting. But remember, temperature changes can mess with the candy bar’s texture and look.
Variations and Flavor Combinations
Get creative with caramel chocolate bars and turn them into a gourmet treat. Learning the basic recipe lets you explore many unique flavors. These will make your caramel chocolate bars truly special.
Try these amazing flavor combinations to make your treats even better:
- Chocolate Variations
- Dark chocolate for a deep, rich taste
- White chocolate for a creamy, vanilla taste
- Milk chocolate for a classic sweet flavor
- Nutty Additions
- Crushed almonds for a crunchy texture
- Pecans for a buttery feel
- Pistachios for a unique green flavor
- Flavor Infusions
- Vanilla bean for a subtle, elegant taste
- Espresso for a coffee boost
- Bourbon for a grown-up twist
Here are some exciting flavor ideas to try:
| Chocolate Type | Nut Addition | Flavor Infusion | Unique Characteristic |
|---|---|---|---|
| Dark Chocolate | Almonds | Espresso | Rich and Intense |
| White Chocolate | Pecans | Vanilla Bean | Creamy and Smooth |
| Milk Chocolate | Pistachios | Bourbon | Complex and Sophisticated |
Your caramel chocolate bars can be a canvas for your creativity. With these ideas, you can make a dessert that’s truly yours. It’s a way to express your taste preferences deliciously.
Conclusion
Making your caramel chocolate bar is more than a baking project. It’s a journey into flavor and technique. By mastering this recipe, you’ve opened up a world of sweet treats that beat any store-bought ones. You get to control every ingredient, making sure you enjoy the best taste.
Your skills grow with each batch of caramel chocolate bars. You’ll learn new things, like how to get the caramel just right and tempering chocolate perfectly. The 25-30 minutes of baking time is not just about cooking. It’s a path to growing as a cook.
Remember, getting better takes time and practice whether it’s for a special event or just because your homemade bars will always be better. Sharing them with loved ones shows off your baking talent and brings joy.
Keep trying new things and stay curious. Your caramel chocolate bar is more than a dessert. It shows your creativity and love for cooking.